The optimized size at a quality of 70 is 134.1K.
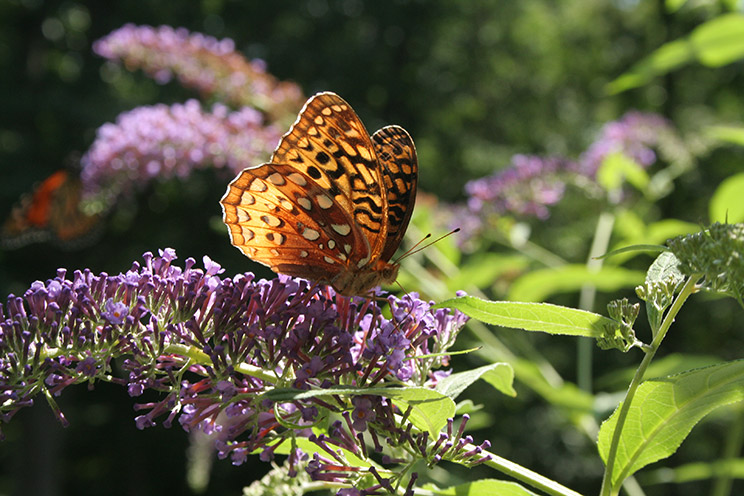
Photo by Stan Cohen.
How fast a web page loads is an important part of criteria Google uses to evaluate a website, which also improves your Google list position, or ranking. You can test your PageSpeed using this Google tool: GooglePageSpeedInsights
Why do some websites perform better than others? Many sites suffer from image “bloat,” images with a larger than necessary file size that slows down page load times. If an image on a page loads slowly, often a few rows at a time, this is an obvious sign. When this happens, your images need to be put on a “diet.”
If your original image straight out of your camera is large, say 4,000 by 3,000 pixels, this could be several megabytes in file size. If you try to “resize” this image to be smaller directly in a website builder such as WordPress, it doesn’t change the physical size (in Kbytes or Mbytes) of the image, it only changes the visual size. Then your browser has to do the heavy lifting and shrink the image as the data is streaming in. In addition, if your visitor’s internet connection is slow or their computer is old, the image will load even slower, while their patience is tested.
So how do you put your images on a diet? One basic way to do this is in the preparation of your web images. Using PhotoShop you can prep your files to the exact needed dimensions before uploading into a site builder. The tricky part is saving the file at the best image and file size while not compromising overall quality. This is known as image optimization.
In the following 10 steps we will show you how to do this:
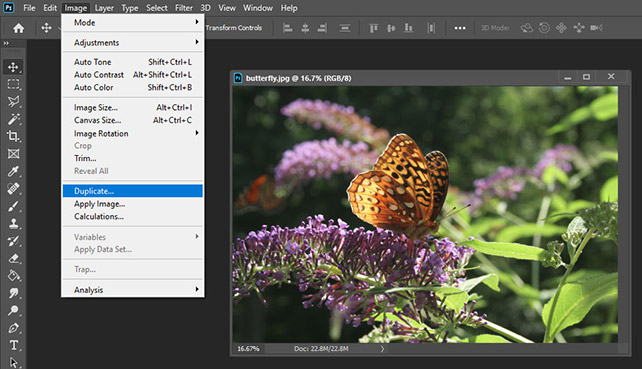
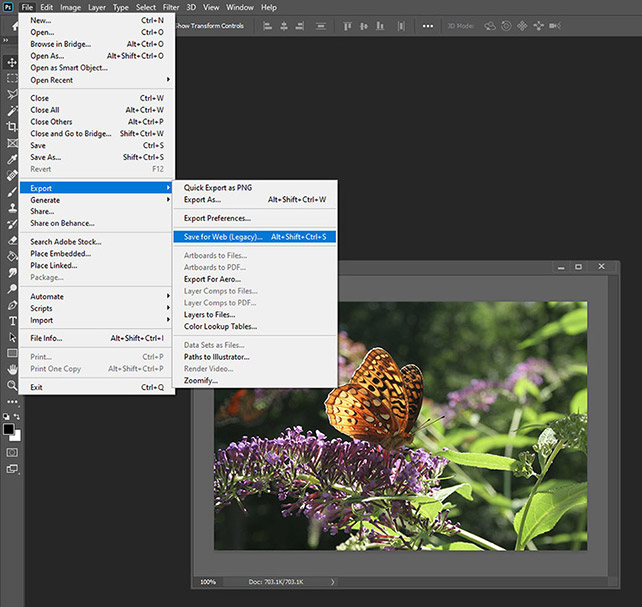
1. Open the image in PhotoShop. On the main menu go to Image>Duplicate to make a copy. This ensures that you won’t accidentally change your original file. Close the original image.
2.- Go to Image > Size. Keep the resolution set to 72 px. Keeping the Width and Height linked so that the image stays in proportion, change the size to what is needed. For this example, we used 600 pixels wide x proportion height. When working with the web, it’s best to use pixels as the unit of measure. Click Okay. Bonus tip 1: Always, and I mean always, keep your images in proportion. This means that the height and width are sized relative to each other so that the resulting image is not distorted such as too short and wide or too tall and narrow.
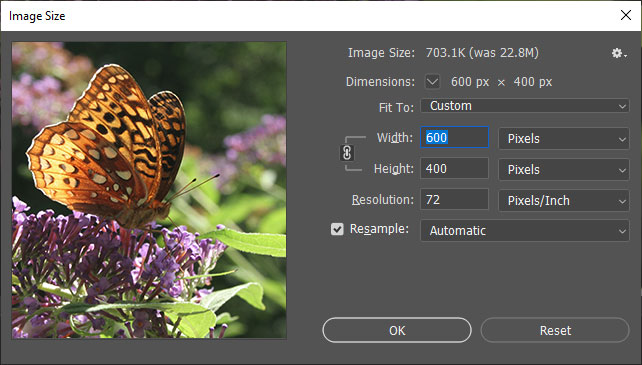
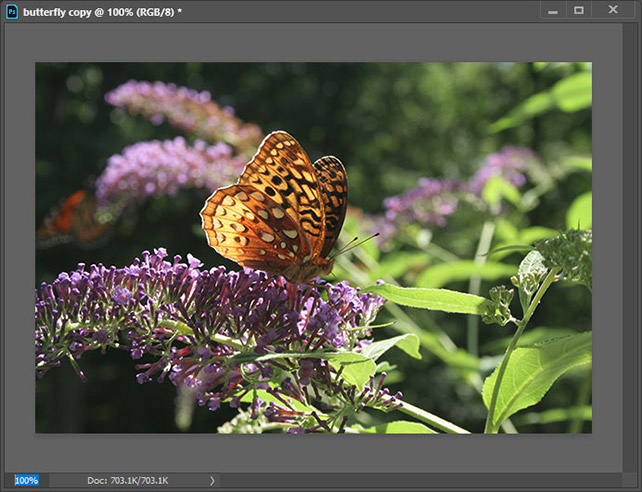
3. With the view in the lower left corner of the image set to 100%, you’ll be able to see if the image is about the size that you need. If it needs to be smaller, repeat step 2. If it needs to be larger, go back to step 1 and start with the original image, otherwise you will lose quality.
4. Once you’re satisfied with the image size, Go to File>Export>Save for web or Alt+Shift+Ctrl+S in Windows, Alt+Shift+Apple+S on a Mac.
5. There will be 4 tabs at the top of the dialog box: Original, Optimized, 2-Up and 4-Up. I mostly use the 2-Up where you can view both the original image and the optimized image at the same time. The Original image should be on your left or top, the JPG output image on your right or bottom.
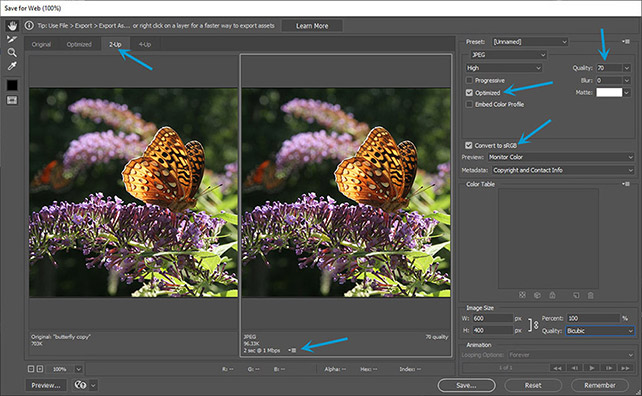
6. Make sure the boxes for Optimized and Convert to sRGB are checked.
7. Let’s assume that you need a JPG file. For the Preset select JPG High. For the Quality I usually start at 70.
8. Check the output for file size in the lower left corner of the JPEG for resulting file size and how long it estimates the load time would be at what Kbps or Mbps (Kilabytes or Megabytes per second). You can change the benchmark of this by clicking on the arrow next to it. Mine is set to 1 Mbps (Cable)
9. When you’re satisfied with the balance of the file size and quality results, click Save and save it where you want.
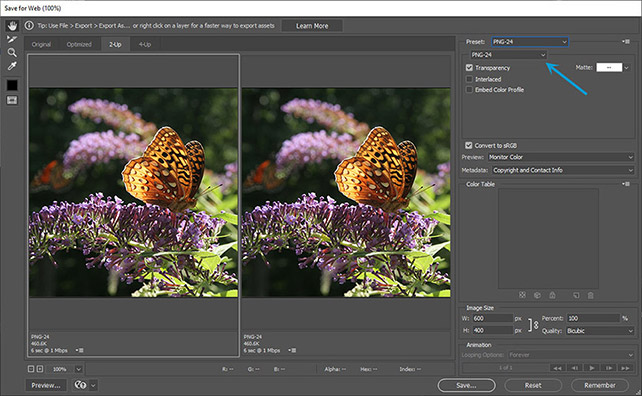
10. You can also save the image as a PNG file. This is usually done for artwork and images that need to have transparent backgrounds. This is a simpler process. Bonus tip 2: JPG’s cannot have transparent backgrounds. After step 4 above select the Preset to be PNG-24. There will be no need to set any Quality percentages. When you’re satisfied with the information specified in step 8, Save the image file.
Your file is now optimized for your website and it will help to decrease your web page load time.
Bonus tip 3: I also use a WordPress plugin called Smush to additionally optimize the load time of files.